How to Export a Framer Website to AWS S3: The Ultimate Guide
Framer has revolutionized how we design and build websites. Its intuitive canvas and powerful animations make it a favorite for designers. However, as your site grows, so does the cost of Framer’s hosting plans. For many, the "Pro" or "Business" tiers can become a significant monthly overhead, especially if you’re managing multiple client sites or simple landing pages that don't require Framer's proprietary backend features.
The solution? Exporting your Framer website and hosting it on AWS S3. Amazon Simple Storage Service (S3) is an industry-standard for static website hosting, offering unparalleled speed, near-infinite scalability, and a "pay-as-you-go" pricing model that usually amounts to pennies per month.
In this ultimate guide, we’ll show you how to break free from hosting lock-in using ExFlow, the premier export framer website tool, and set up a high-performance AWS environment.
Why AWS S3 for Framer Hosting?
Before we dive into the "how," let’s talk about the "why." While Framer’s native hosting is excellent, AWS S3 provides several professional-grade advantages:
- Massive Cost Savings: Framer hosting starts at around $15-30/month. AWS S3 static hosting for a typical site often costs less than $1/month.
- Global Speed: When paired with AWS CloudFront (Amazon's CDN), your site is cached at edge locations worldwide, often outperforming standard hosting.
- Complete Ownership: You own the code. You can version-control it on GitHub or back it up locally.
- No Site Limitations: Unlike Framer's free tier, you won't have a "Made in Framer" badge, and you aren't limited by page counts once exported.
Step 1: Exporting Your Framer Site with ExFlow
Framer does not provide a native way to export your site's source code. Traditional tools like HTTrack often fail with Framer because they can't handle the modern React-based architecture and dynamic asset loading.
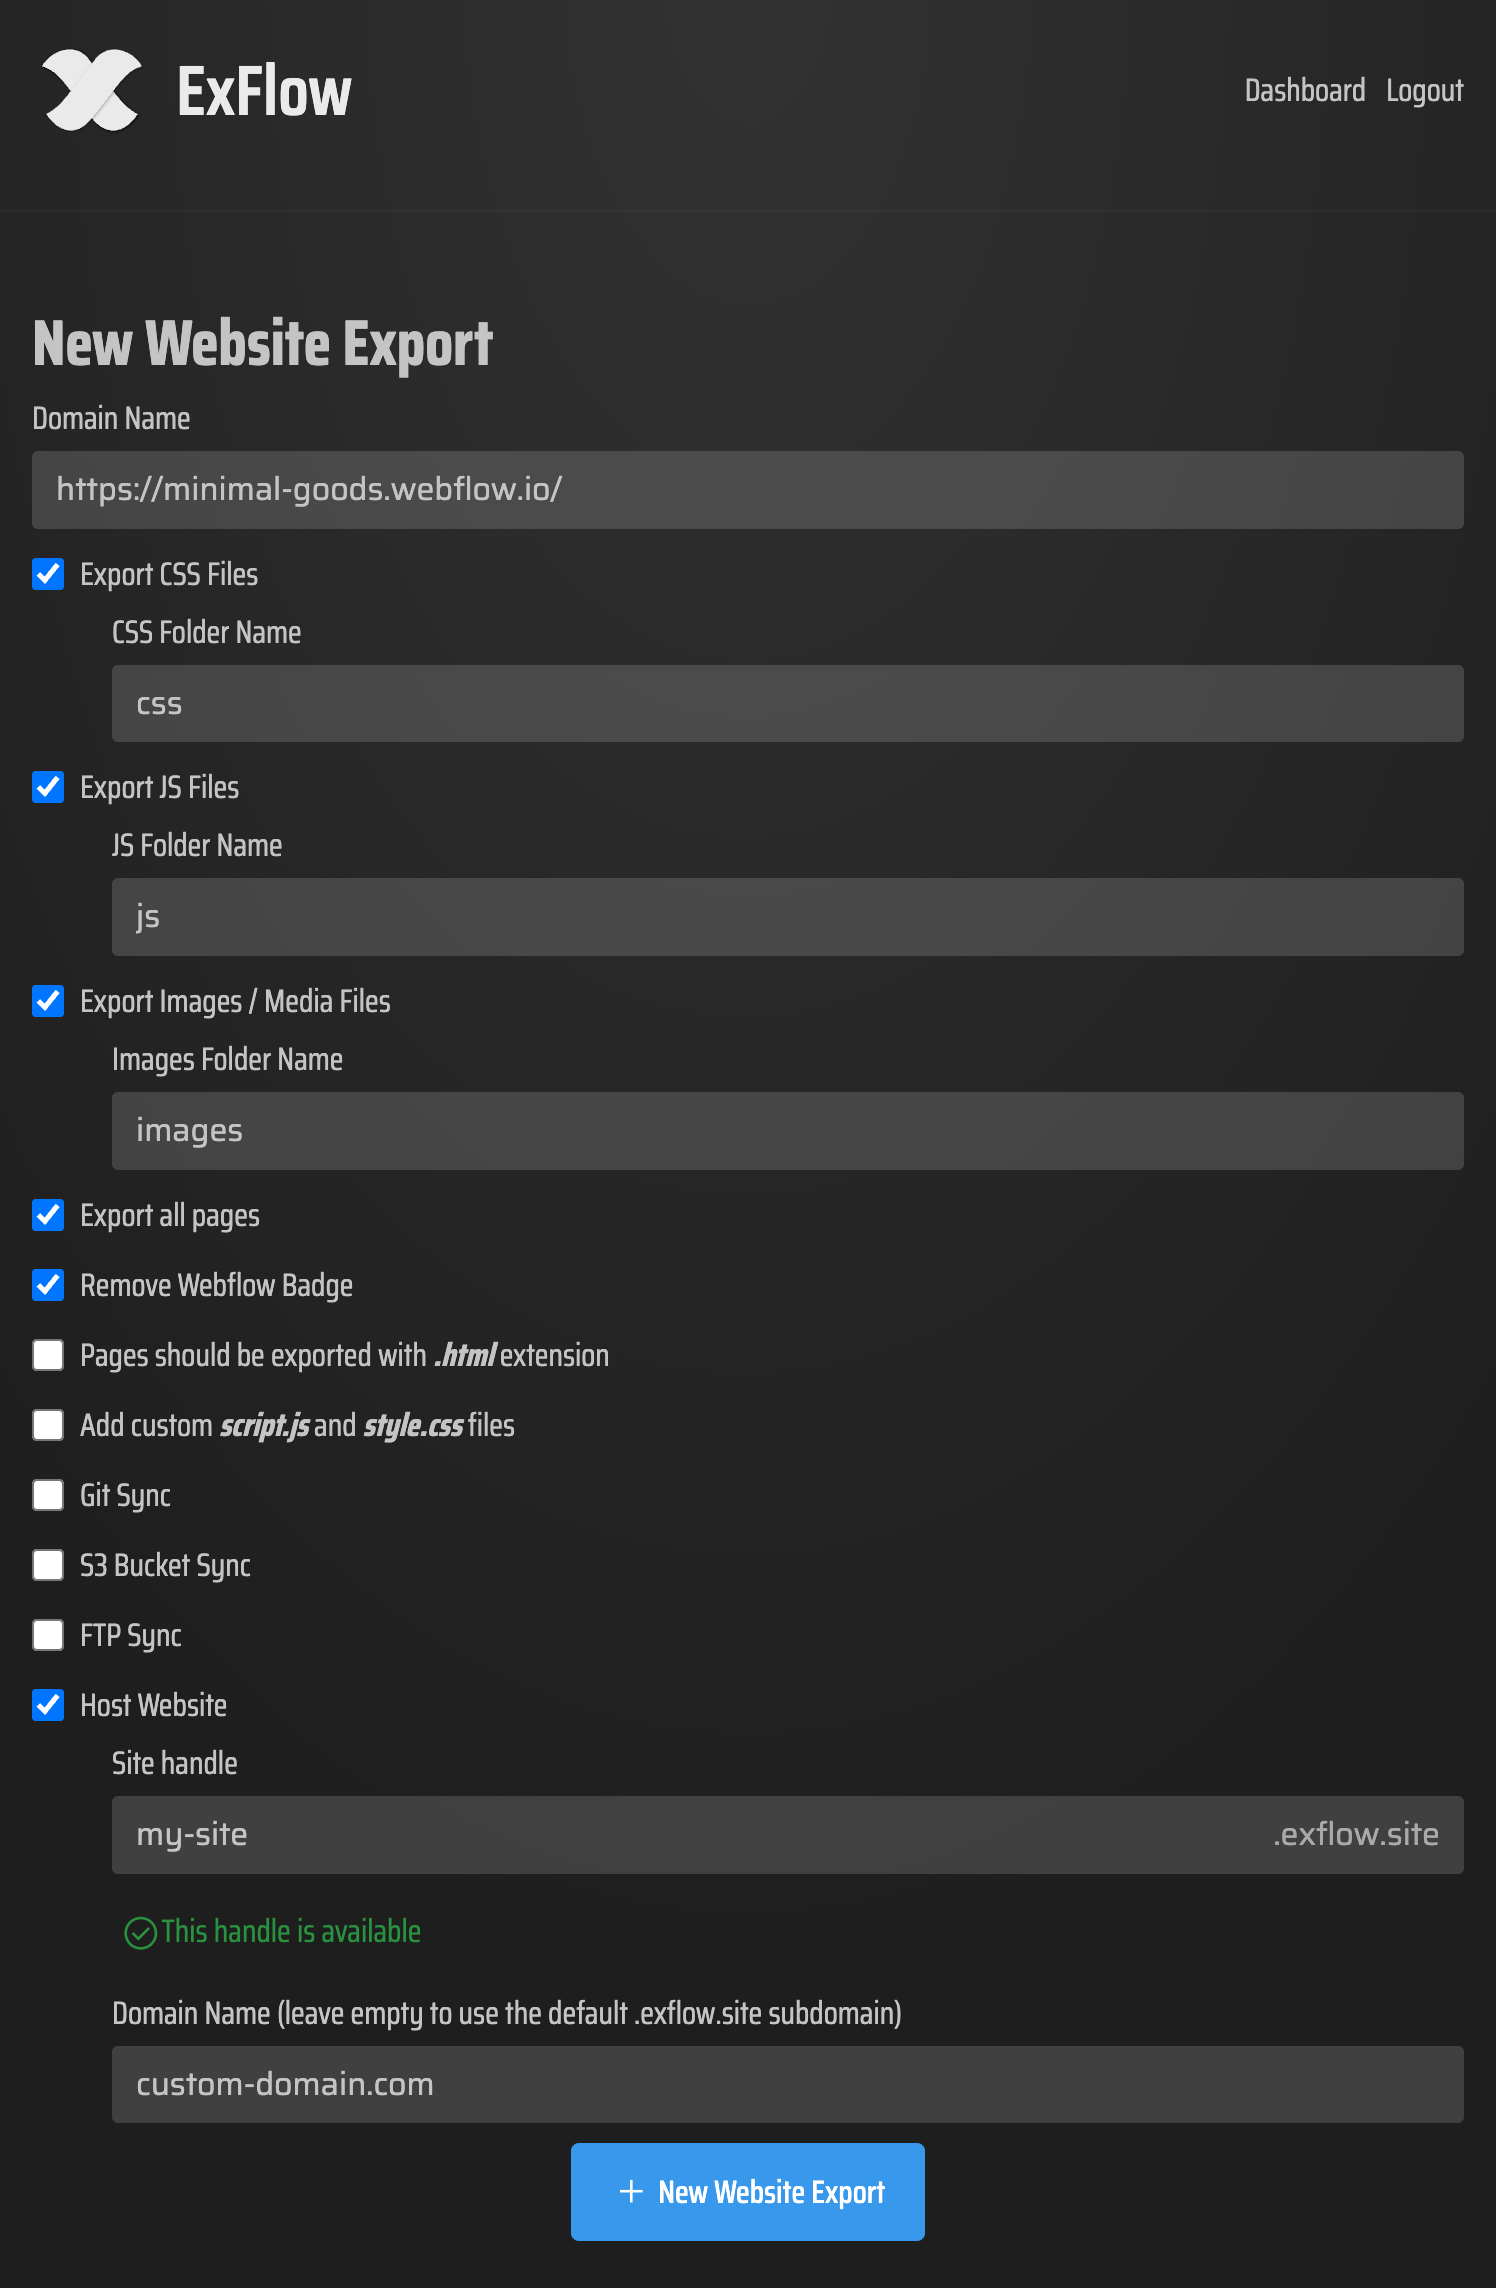
ExFlow is specifically designed to solve this. It crawls your Framer site, captures all the CSS, JS, and optimized images, and packages them into a clean, static structure.
- Go to ExFlow.
- Enter your Framer site URL.
- Select "Remove Made with Framer Badge" to keep your site white-labeled.
- Choose "Export All Pages" to ensure your entire site structure remains intact.
Step 2: Preparing the AWS S3 Bucket
Now that you have your static files, it's time to prepare the "home" for your website.
- Create a Bucket: Log in to your AWS Console and navigate to S3. Click "Create Bucket." Name it exactly after your domain (e.g.,
www.yourwebsite.com). - Disable "Block Public Access": By default, AWS keeps buckets private. To host a website, you must uncheck "Block all public access." Confirm the acknowledgment that the bucket will become public.
- Enable Static Website Hosting: Under the Properties tab, scroll to the bottom. Enable "Static website hosting" and set
index.htmlas your Index document.
Step 3: Configuring the Bucket Policy
To allow the world to see your Framer export, you need to tell AWS that everyone is allowed to "Get" objects from this bucket. Go to the Permissions tab and edit the Bucket Policy. Paste the following (replacing YOUR-BUCKET-NAME with your actual bucket name):
{
    "Version": "2012-10-17",
    "Statement": [
        {
            "Sid": "PublicReadGetObject",
            "Effect": "Allow",
            "Principal": "*",
            "Action": "s3:GetObject",
            "Resource": "arn:aws:s3:::YOUR-BUCKET-NAME/*"
        }
    ]
}
Step 4: Automating the Sync with ExFlow
The tedious part of self-hosting is manually uploading files every time you make a change. ExFlow eliminates this friction with its S3 Sync feature.
Instead of downloading a ZIP and manually uploading it to the AWS console, you can provide your S3 credentials (Access Key and Secret Key) directly in the ExFlow configuration. When you run an export, ExFlow will automatically push the updated files to your S3 bucket.
This creates a seamless workflow: Design in Framer -> Export via ExFlow -> Live on AWS S3.
Conclusion
Transitioning from Framer's expensive hosting to AWS S3 is one of the smartest moves you can make for your digital infrastructure. It combines the design power of Framer with the technical freedom of AWS.
If you’ve been struggling with how to download a Framer website or are tired of overpaying for hosting, ExFlow is the bridge you need. Start your transition today and take full control of your web assets.